Tile installation basics refer to the fundamental steps and techniques involved in setting tiles on surfaces like floors or walls. This process includes preparing the surface, measuring and planning the layout, applying adhesive or mortar, placing tiles evenly, and using spacers for uniform gaps. After tiles are set, grout is applied between them to secure and seal the joints. Proper tile installation ensures durability, aesthetics, and a professional finish.
Tile Installation Basics
Tile installation basics refer to the fundamental steps and techniques involved in setting tiles on surfaces like floors or walls. This process includes preparing the surface, measuring and planning the layout, applying adhesive or mortar, placing tiles evenly, and using spacers for uniform gaps. After tiles are set, grout is applied between them to secure and seal the joints. Proper tile installation ensures durability, aesthetics, and a professional finish.
💡 Key Takeaways
- Prepare and level the surface for proper tile adhesion.
- Measure, plan the layout, and mark a guide to ensure straight, balanced rows.
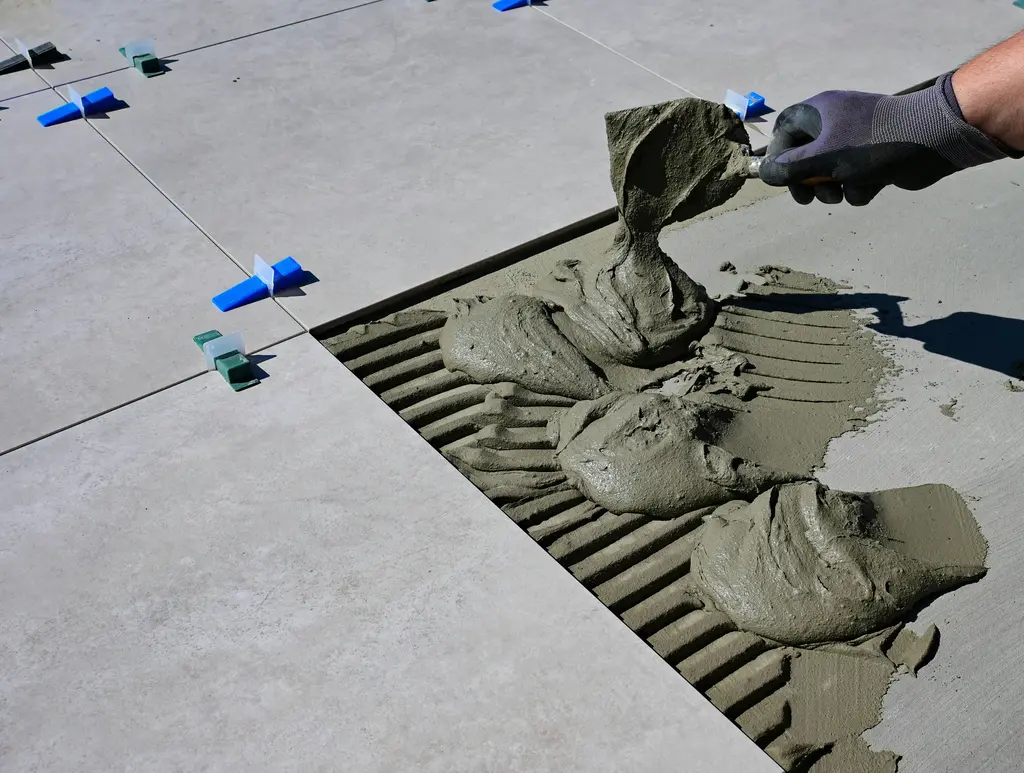
- Mix and apply mortar or adhesive, then place tiles with spacers for even gaps.
- Cut tiles as needed, then grout and seal for a durable finish.
❓ Frequently Asked Questions
What is the first step in tile installation?
Prepare the surface: ensure it’s clean, dry, flat, and sound; repair defects and choose an appropriate substrate.
Why is surface preparation important?
It ensures tiles bond properly, prevents lippage, and yields even, durable grout lines.
What is mortar or adhesive used for in tile installation?
It bonds tiles to the substrate; thinset mortar is common—mix and apply according to the product instructions.
How do spacers and a layout plan help during tile installation?
Spacers maintain uniform gaps; layout lines guide placement for straight, symmetrical grout lines and less waste.
What should you consider when planning tile layout on floors or walls?
Choose tile size, pattern, orientation, and centerlines; start from a central point to ensure balanced edges.